
Set Up Kpow with Google Cloud Managed Service for Apache Kafka
.webp)
Table of contents

Overview
Managing Apache Kafka at scale requires robust visibility and control. Kpow delivers exactly that as a comprehensive engineering console, offering a single pane of glass for your streaming infrastructure.
Kpow is fully compatible with Google Cloud Managed Service for Apache Kafka (MSAK) out of the box. Because Kpow uses standard Kafka protocols, it integrates seamlessly with your GCP cluster without requiring proprietary plugins, external agents, or complex custom configurations.
About Factor House
Factor House is a leader in real-time data tooling, empowering engineers with innovative solutions for Apache Kafka® and Apache Flink®.
Our flagship product, Kpow for Apache Kafka, is the market-leading enterprise solution for Kafka management and monitoring.
Start your free 30-day trial or explore our live multi-cluster demo environment to see Kpow in action.
Prerequisites
To connect Kpow to Google Cloud MSAK, you must have the following resources provisioned:
- A running Google Cloud MSAK Cluster: Reachable from the host where you intend to run Kpow.
- Google Managed Schema Registry (Optional): Provisioned within the same GCP region if you intend to manage schemas.
- Network reachability: The Compute Engine VM or GKE cluster running Kpow must reside in the same VPC and subnet as the Kafka cluster.
- Authentication: The compute instance must have a Service Account attached with the
Managed Kafka AdminIAM role (and optionally theSchema Registry Adminrole). Since Kpow acts as a centralized management and monitoring tool, granting it these broad infrastructure permissions allows it to seamlessly fetch OAuth tokens and interact with your resources. You can then enforce strict, fine-grained access control for your individual engineers directly within Kpow using its built-in Role Based Access Control. - Connection Details: Your Bootstrap Server address (and optionally, your Schema Registry URL).
- A Kpow Enterprise License: Get a free 30-day trial.
Quick Start
The fastest way to connect Kpow to Google Cloud is using Docker.
❗ Important: To use Google MSAK with Kpow, you must use the GCP-specific build of Kpow (e.g., factorhouse/kpow:95.3-temurin-ubi). Due to a known bug in Google's GcpBearerAuthCredentialProvider that disallows multiple credential providers on the classpath, GCP functionality is provided in a separate Docker image until Google resolves the issue. Ensure you replace 95.3 with the current Kpow release version.
Run the following command in your terminal, replacing the placeholder values with your specific cluster details:
docker run -p 3000:3000 \
  --env ENVIRONMENT_NAME="GCP Kafka Cluster" \
  --env BOOTSTRAP="bootstrap.<cluster-id>.<gcp-region>.managedkafka.<gcp-project-id>.cloud.goog:9092" \
  --env SECURITY_PROTOCOL="SASL_SSL" \
  --env SASL_MECHANISM="OAUTHBEARER" \
  --env SASL_LOGIN_CALLBACK_HANDLER_CLASS="com.google.cloud.hosted.kafka.auth.GcpLoginCallbackHandler" \
  --env SASL_JAAS_CONFIG="org.apache.kafka.common.security.oauthbearer.OAuthBearerLoginModule required;" \
  --env LICENSE_ID="<LICENSE_ID>" \
  --env LICENSE_CODE="<LICENSE_CODE>" \
  --env LICENSEE="<LICENSEE>" \
  --env LICENSE_EXPIRY="<LICENSE_EXPIRY>" \
  --env LICENSE_SIGNATURE="<LICENSE_SIGNATURE>" \
  factorhouse/kpow:95.3-temurin-ubi
Notes
💡 License details The license details can be obtained from your signup email or via the Factor House license portal.
❗ Authorization configuration For brevity, Kpow authorization configuration has been omitted. See Simple Access Control to enable necessary user actions.
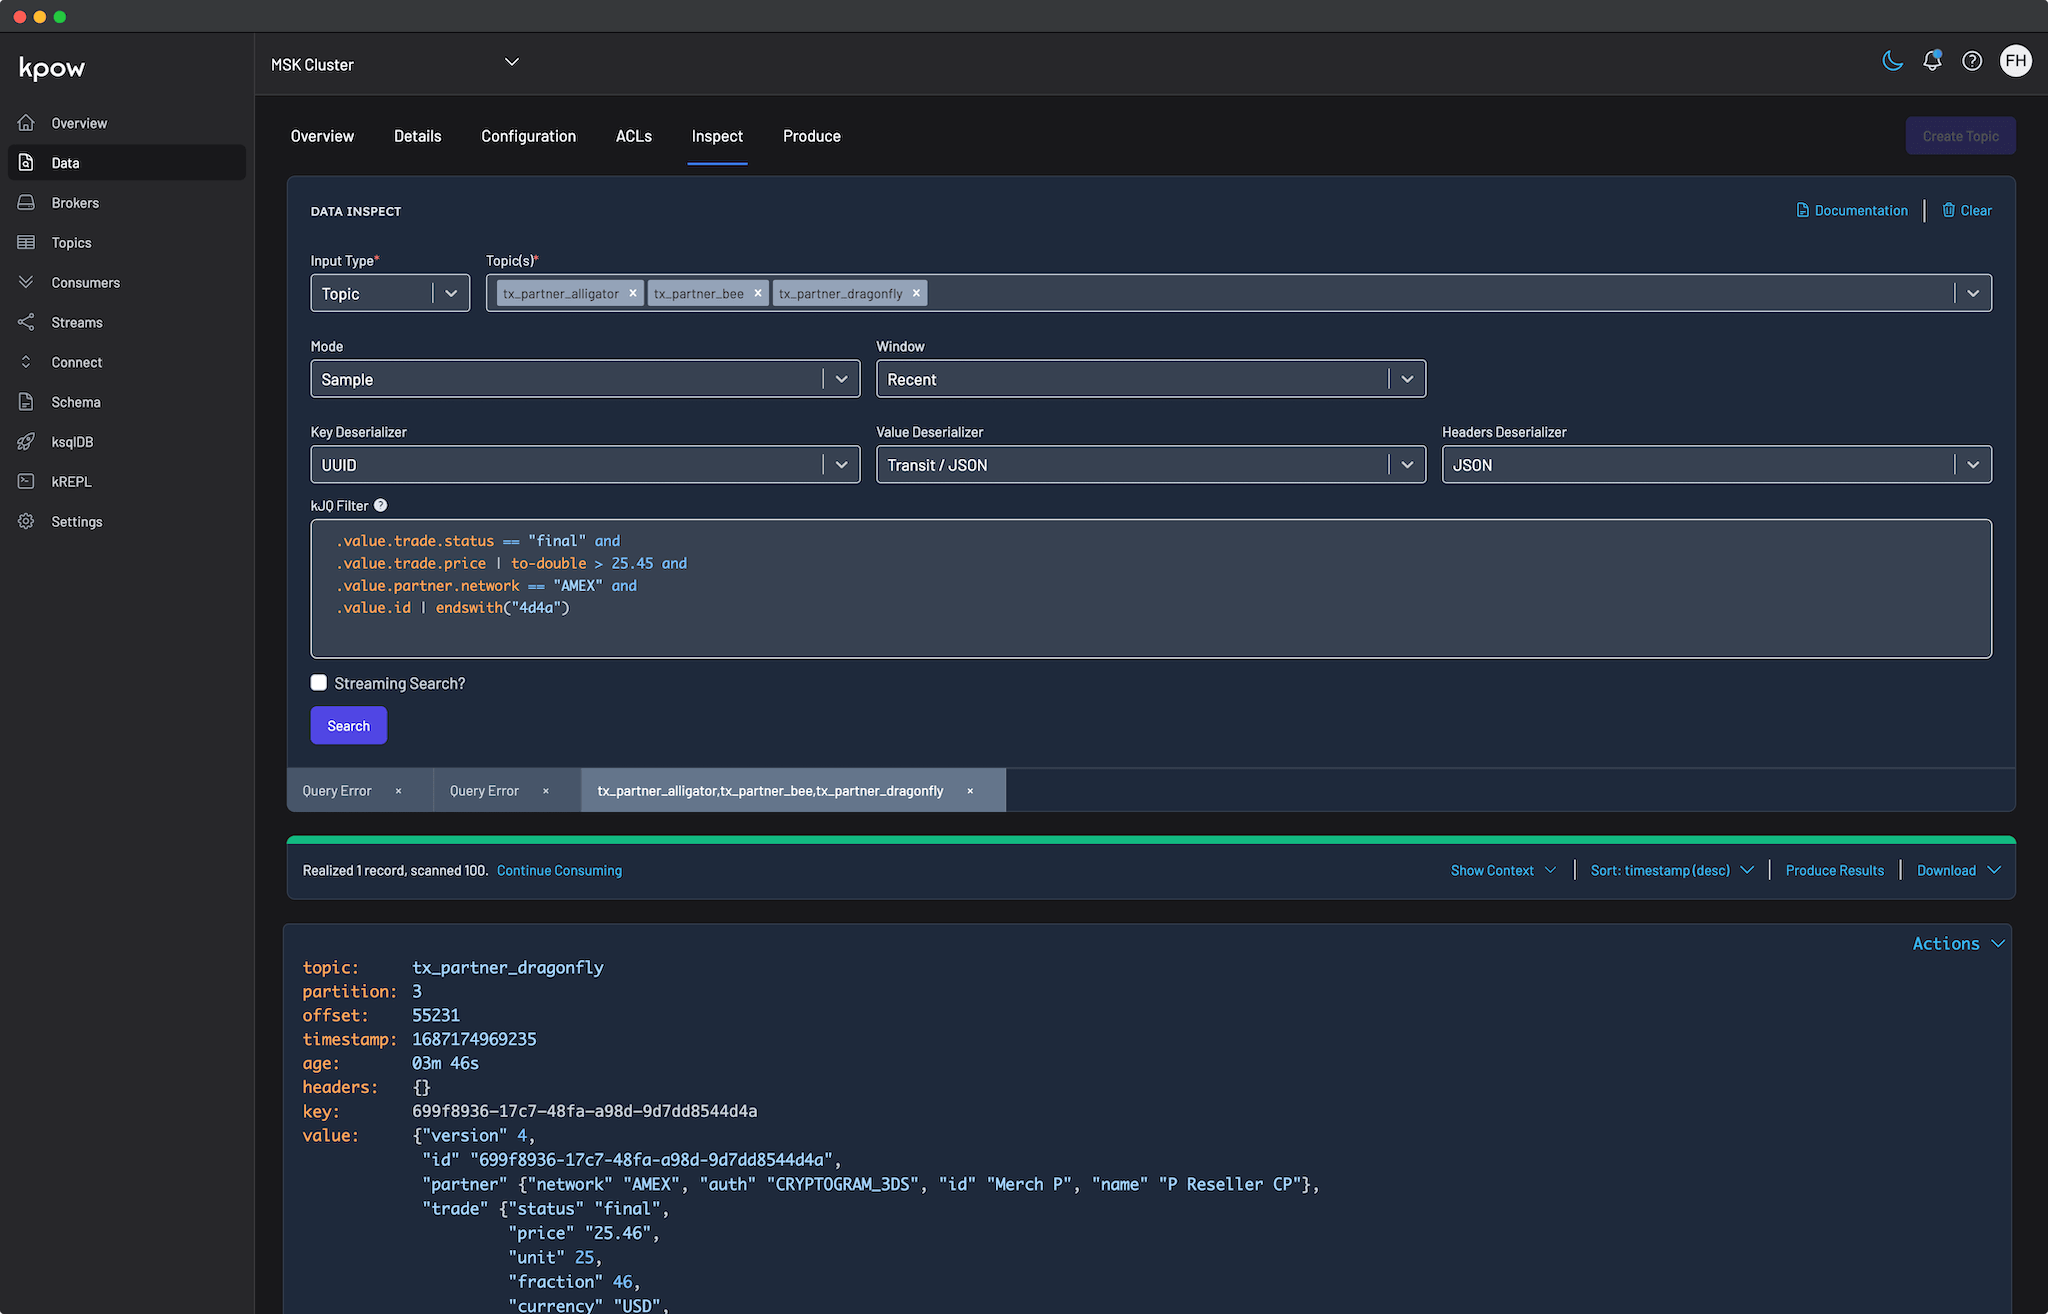
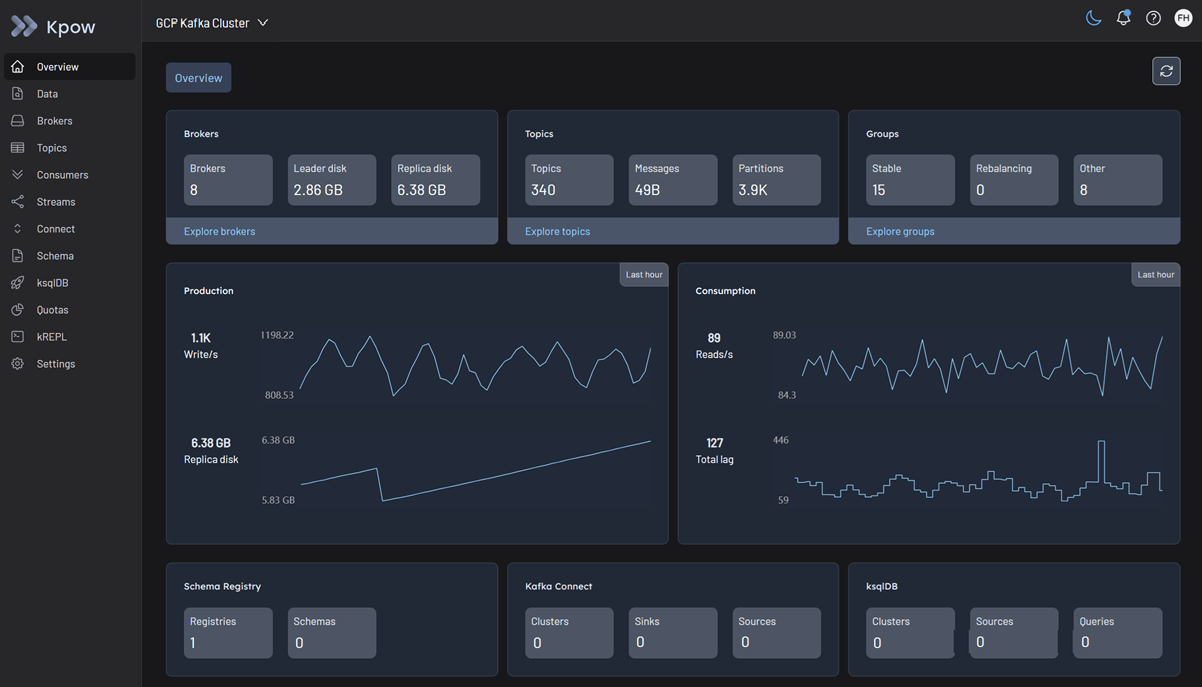
Once the container starts, open a browser and navigate to http://localhost:3000. You will immediately see your Google Cloud topics, consumer groups, and brokers.
Integrating the Managed Schema Registry (Optional)
To manage your schemas directly within Kpow, you can integrate Google Cloud's Managed Schema Registry by adding the following environment variables to your deployment command:
  --env SCHEMA_REGISTRY_NAME="GCP Schema Registry" \
  --env SCHEMA_REGISTRY_URL="https://managedkafka.googleapis.com/v1/projects/<gcp-project-id>/locations/<gcp-region>/schemaRegistries/<registry-id>" \
  --env SCHEMA_REGISTRY_BEARER_AUTH_CUSTOM_PROVIDER_CLASS="com.google.cloud.hosted.kafka.auth.GcpBearerAuthCredentialProvider" \
  --env SCHEMA_REGISTRY_BEARER_AUTH_CREDENTIALS_SOURCE="CUSTOM"
Configuration Details
Connecting to Google Cloud MSAK requires specific authentication settings to integrate smoothly with Google IAM.
Cluster Authentication
Kpow supports connecting to Google Cloud via both OAUTHBEARER (recommended) and SASL/PLAIN.
By configuring SASL_MECHANISM=OAUTHBEARER and setting the GcpLoginCallbackHandler, Kpow will automatically and securely retrieve short-lived OAuth tokens from the Google Cloud metadata server using the IAM Service Account attached to the host VM.
Access Control
Google Cloud MSAK relies on two levels of access control:
- Google Cloud IAM Roles: These roles (like
Managed Kafka Admin) authorize Kpow to connect to the cluster via Google Cloud APIs. - Apache Kafka ACLs: For more granular control over access to specific resources within a cluster, such as topics and consumer groups, you must configure native Kafka ACLs. Kpow provides robust support for managing these ACLs directly within its UI.
For a comprehensive list of configuration options, limitations, and detailed IAM policy examples, refer to our Google MSAK Kafka cluster documentation.
Ecosystem Integration
Kpow connects seamlessly to the wider Google Cloud streaming ecosystem, though there are specific limitations to be aware of.
Google Managed Schema Registry
Kpow connects to the Google Managed Schema Registry using a custom bearer token provider (GcpBearerAuthCredentialProvider). The Google registry implements the Confluent REST API, ensuring compatibility with Kpow's schema interface.
- Supported Formats: The managed registry currently supports Apache Avro and Protocol Buffers (Protobuf). JSON schemas are not supported by the Google API at this time.
For detailed access control and connection options, see the Google MSAK Schema Registry documentation.
Google Managed Kafka Connect
Google Managed Kafka Connect is currently in Preview. At this time, Google has wrapped the functionality into its own proprietary Google Cloud API rather than exposing the standard Apache Kafka Connect REST API (which typically runs on port 8083).
Because the standard REST endpoint is not exposed, Kpow cannot currently integrate with it. Integration with Google Managed Kafka Connect will be addressed in a future update.
Production Deployment
When you are ready to move from a local Docker test to a production deployment, we recommend the following paths:
Kubernetes
For deploying Kpow to Google Kubernetes Engine (GKE) clusters running alongside your MSAK instances, we recommend using our official Helm Charts.
Bare Metal / VM
If you prefer running Kpow directly on a Google Compute Engine (GCE) Virtual Machine, you can download the Kpow JAR file.
Conclusion
Kpow provides a powerful, single pane of glass view into your Google Cloud Managed Service for Apache Kafka infrastructure. By using standard Kafka protocols and direct IAM integrations, you can unify your Kafka clusters and Schema Registry environments in minutes.
Explore these features in your own environment with a free 30-day trial of Kpow.
If you need assistance with your Google Cloud integration, reach out to our engineering support team at support@factorhouse.io.
Related Content
- Set Up Kpow with Amazon Managed Streaming for Apache Kafka
- Set Up Kpow with Confluent Cloud
- How to Integrate Kpow with OCI Streaming with Apache Kafka
- Set Up Kpow with NetApp Instaclustr Platform