Read More

Developer
Knowledge Center
Empowering engineers with everything they need to build, monitor, and scale real-time data pipelines with confidence.


Release 95.2: quality-of-life improvements across Kpow, Flex & Helm deployments
95.2 focuses on refinement and operability, with improvements across the UI, consumer group workflows, and deployment configuration. Alongside bug fixes and usability improvements, this release adds new Helm options for configuring the API and controlling service account credential automounting.
Read More
Highlights
Release
January 12, 2026
Release 95.2: quality-of-life improvements across Kpow, Flex & Helm deployments
95.2 focuses on refinement and operability, with improvements across the UI, consumer group workflows, and deployment configuration. Alongside bug fixes and usability improvements, this release adds new Helm options for configuring the API and controlling service account credential automounting.
How-to
December 8, 2025
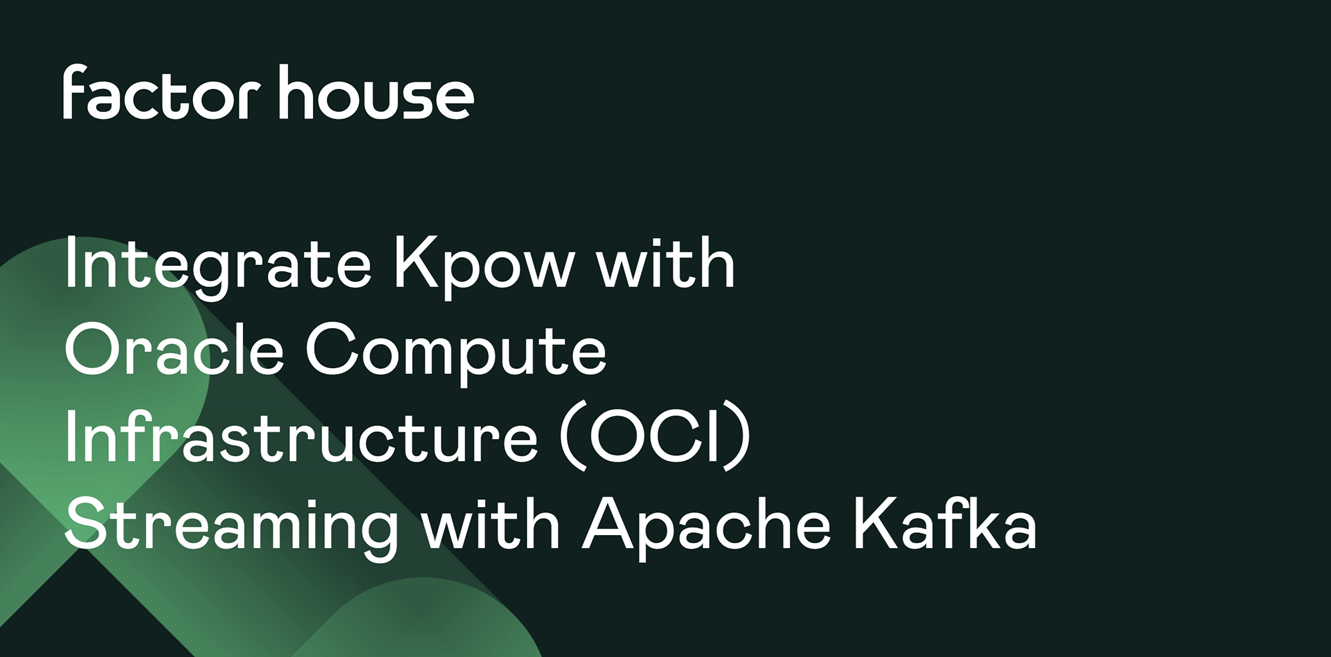
Integrate Kpow with Oracle Compute Infrastructure (OCI) Streaming with Apache Kafka
Unlock the full potential of your dedicated OCI Streaming with Apache Kafka cluster. This guide shows you how to integrate Kpow with your OCI brokers and self-hosted Kafka Connect and Schema Registry, unifying them into a single, developer-ready toolkit for complete visibility and control over your entire Kafka ecosystem.
Article
December 3, 2025
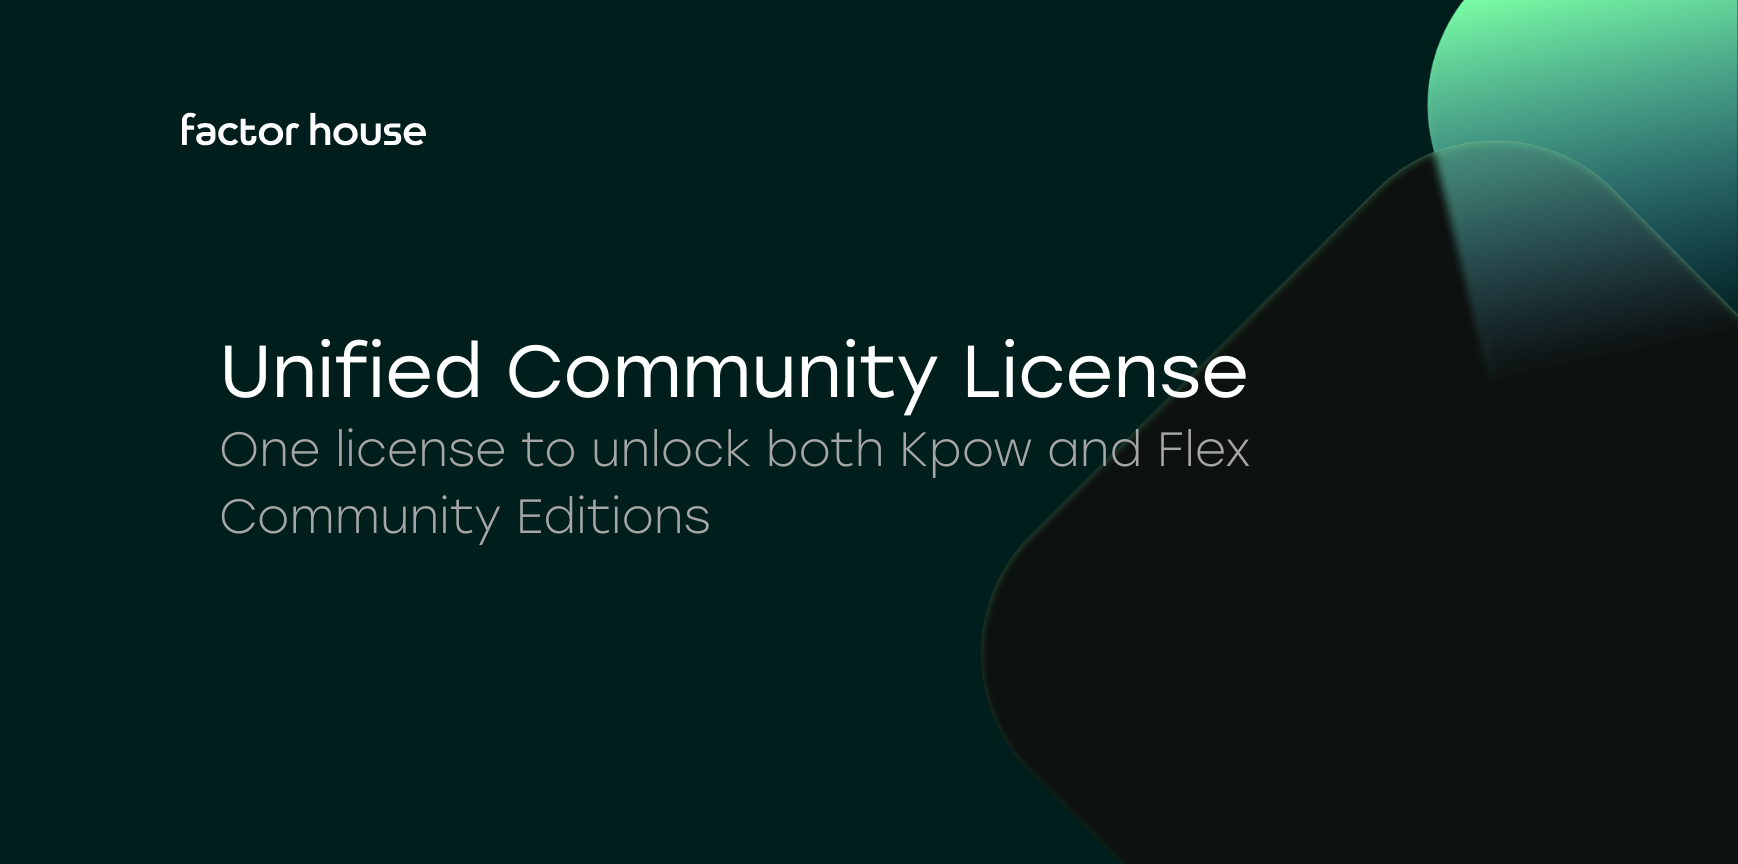
Unified community license for Kpow and Flex
The unified Factor House Community License works with both Kpow Community Edition and Flex Community Edition, meaning one license will unlock both products. This makes it even simpler to explore modern data streaming tools, create proof-of-concepts, and evaluate our products.
All Resources
Thank you! Your submission has been received!
Oops! Something went wrong while submitting the form.
.webp)
Article
September 10, 2025
Data Inspect Enhancements in Kpow 94.5
Kpow 94.5 enhances data inspection with comma-separated kJQ Projection expressions, in-browser search, and flexible deserialization options. This release also adds high-performance streaming for large datasets and expands kJQ with new transforms and functions—testable on our new interactive examples page. These updates provide deeper insights and more granular control over your Kafka data streams.
.webp)
How-to
September 8, 2025
From Batch to Real-Time: A Hands-On CDC Project with Debezium, Kafka, and theLook eCommerce Data
This project transforms the static "theLook" eCommerce dataset into a live data stream. It uses a Python generator to simulate user activity in PostgreSQL, while Debezium captures every database change and streams it to Kafka. This creates a hands-on environment for building and testing real-time CDC pipelines.

Article
September 5, 2025
Kafka 4.1 Release: Queues, Stream Groups, and More
Apache Kafka 4.1 has landed: with queue support in preview, improved Kafka Streams coordination, and new security and metrics features, this release marks a major milestone for the future of real-time data systems.
Article
August 28, 2025
Melbourne Kafka x Flink July Meetup Recap: Real-time Data Hosted by Factor House & Confluent
From structuring data streams to spinning up full pipelines locally, our latest Kafka x Flink meetup in Melbourne was packed with hands-on demos and real-time insights. Catch the highlights and what's next.
Article
August 18, 2025
Join the conversation: Factor House launches open Slack for the real-time data community
Factor House has opened a public Slack for anyone working with streaming data, from seasoned engineers to newcomers exploring real-time systems. This space offers faster peer-to-peer support, open discussion across the ecosystem, and a friendly on-ramp for those just getting started.
.webp)
How-to
August 5, 2025
Building a Real-Time Leaderboard with Kafka and Flink
Learn how to build a real-time "Top-K" analytics pipeline from scratch using a modern data stack. This open-source project guides you through using Apache Kafka, Apache Flink, and Streamlit to ingest, process, and visualize live data, turning a continuous stream of events into actionable insights on an interactive dashboard.
Events & Webinars
Stay plugged in with the Factor House team and our community.
Event
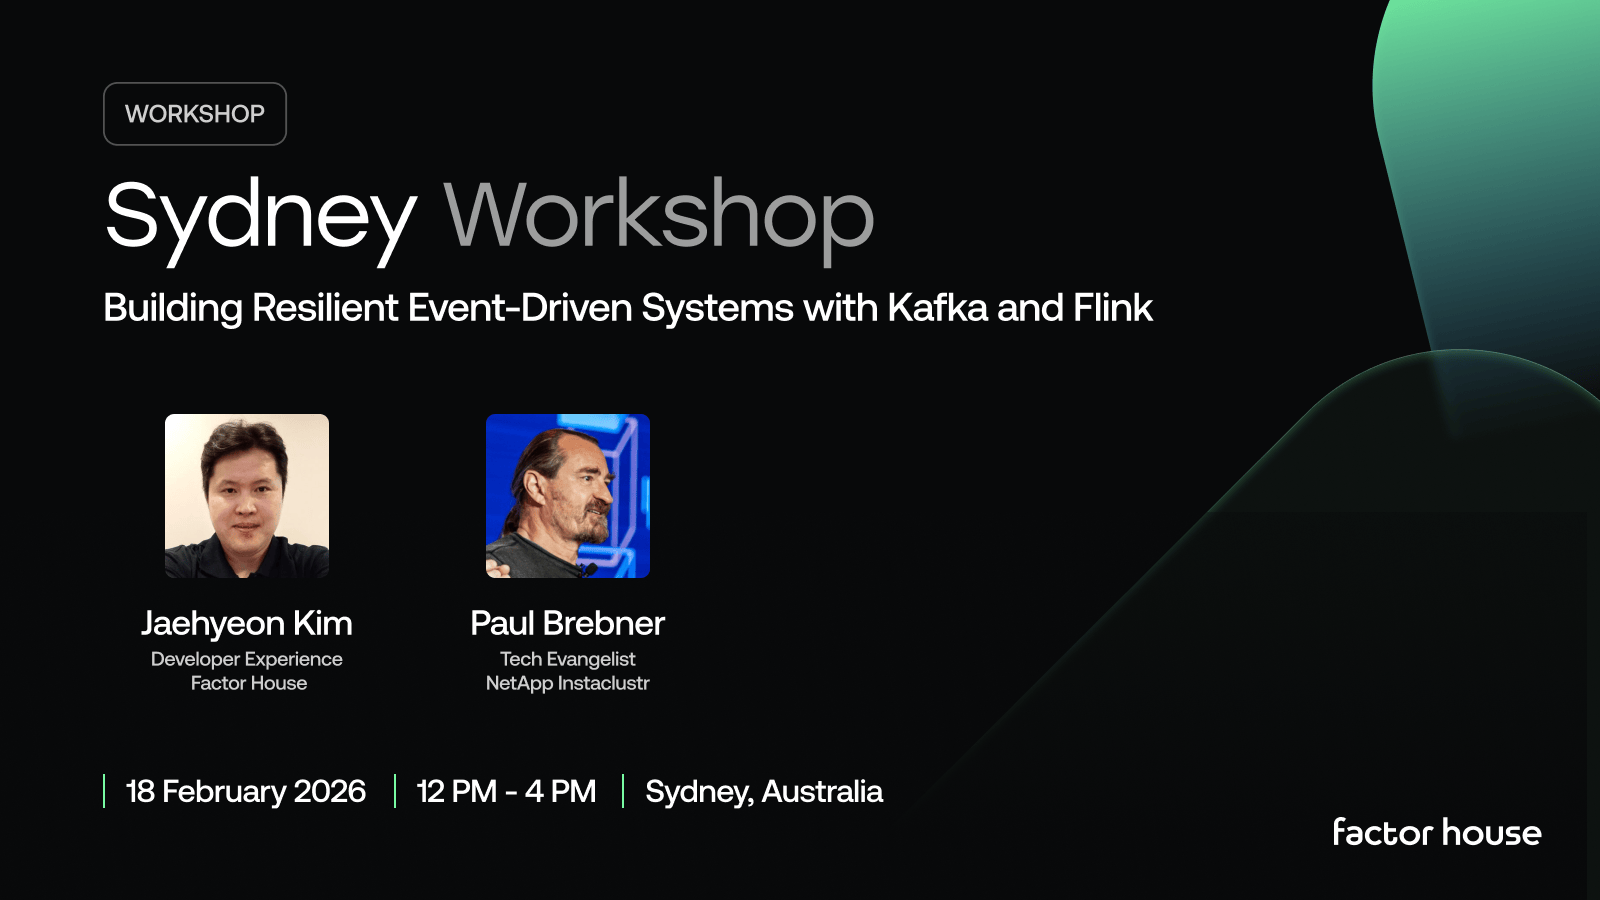
18 February 2026
Sydney Workshop: Building Resilient Event-Driven Systems with Kafka and Flink
We're teaming up with NetApp Instaclustr and Ververica to run this intensive half-day workshop where you'll design, build, and operate a complete real-time operational system from the ground up.
Event
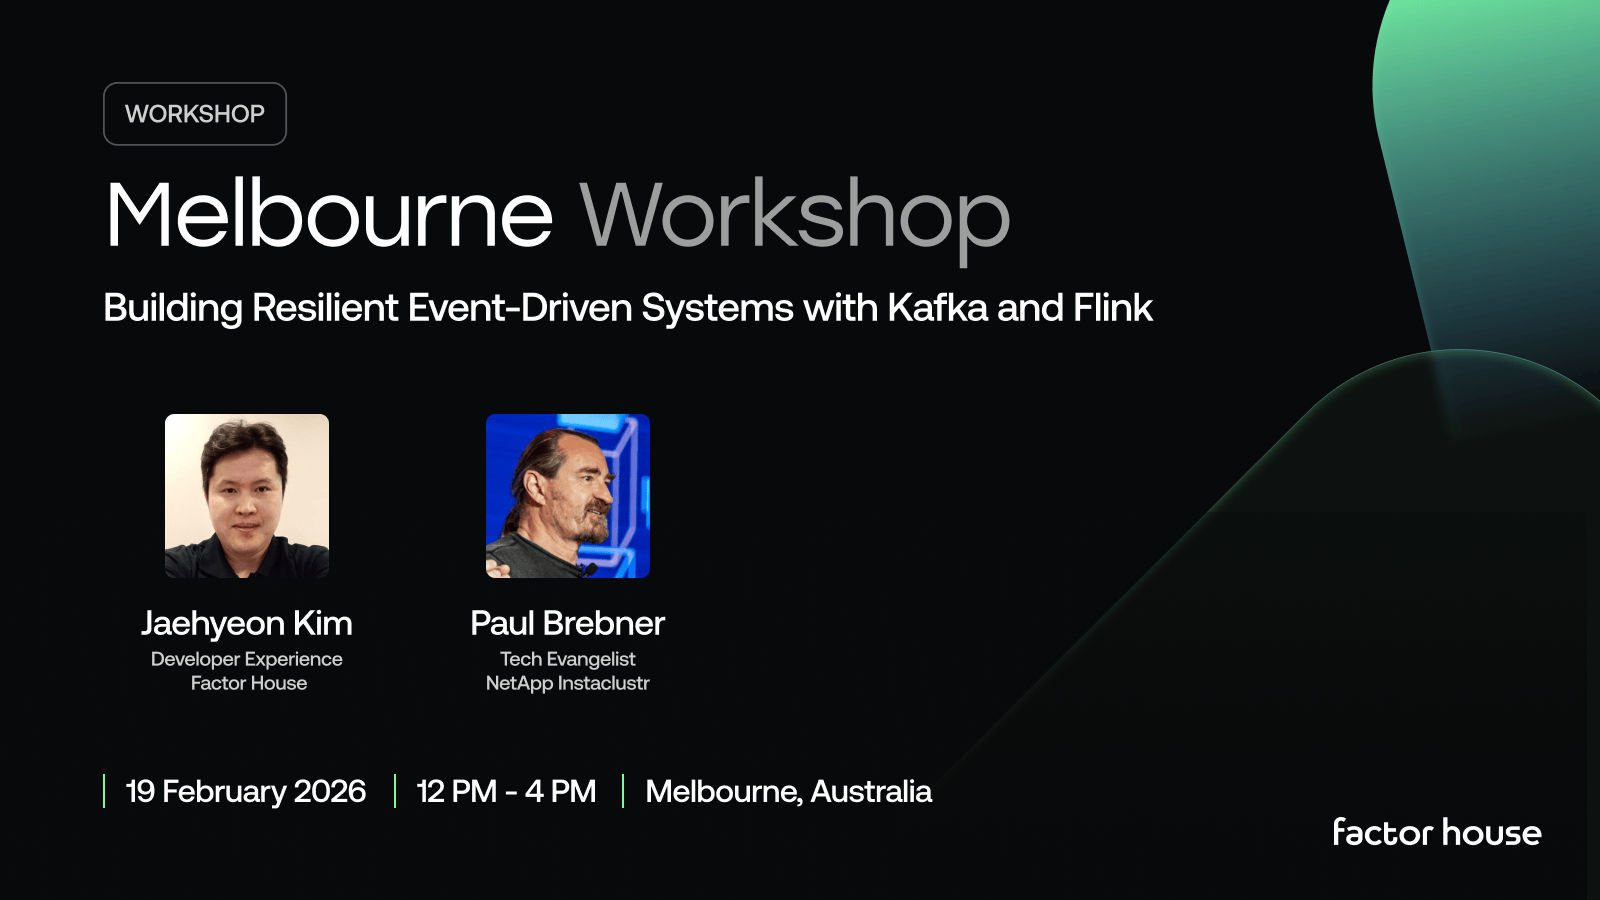
19 February 2026
Melbourne Workshop: Building Resilient Event-Driven Systems with Kafka and Flink
We're teaming up with NetApp Instaclustr and Ververica to run this intensive half-day workshop where you'll design, build, and operate a complete real-time operational system from the ground up.
Join the Factor Community
We’re building more than products, we’re building a community. Whether you're getting started or pushing the limits of what's possible with Kafka and Flink, we invite you to connect, share, and learn with others.


