Read More

Developer
Knowledge Center
Empowering engineers with everything they need to build, monitor, and scale real-time data pipelines with confidence.


Release 95.2: quality-of-life improvements across Kpow, Flex & Helm deployments
95.2 focuses on refinement and operability, with improvements across the UI, consumer group workflows, and deployment configuration. Alongside bug fixes and usability improvements, this release adds new Helm options for configuring the API and controlling service account credential automounting.
Read More
Highlights
Release
January 12, 2026
Release 95.2: quality-of-life improvements across Kpow, Flex & Helm deployments
95.2 focuses on refinement and operability, with improvements across the UI, consumer group workflows, and deployment configuration. Alongside bug fixes and usability improvements, this release adds new Helm options for configuring the API and controlling service account credential automounting.
How-to
December 8, 2025
Integrate Kpow with Oracle Compute Infrastructure (OCI) Streaming with Apache Kafka
Unlock the full potential of your dedicated OCI Streaming with Apache Kafka cluster. This guide shows you how to integrate Kpow with your OCI brokers and self-hosted Kafka Connect and Schema Registry, unifying them into a single, developer-ready toolkit for complete visibility and control over your entire Kafka ecosystem.
Article
December 3, 2025
Unified community license for Kpow and Flex
The unified Factor House Community License works with both Kpow Community Edition and Flex Community Edition, meaning one license will unlock both products. This makes it even simpler to explore modern data streaming tools, create proof-of-concepts, and evaluate our products.
All Resources
Thank you! Your submission has been received!
Oops! Something went wrong while submitting the form.
Article
June 24, 2025
Beyond Kafka: Sharp Signals from Current London 2025
The real-time ecosystem has outgrown Kafka alone. At Current London 2025, the transition from Kafka Summit was more than a name change — it marked a shift toward streaming-first AI, system-level control, and production-ready Flink. Here's what Factor House saw and learned on the ground.
.webp)
How-to
June 23, 2025
Integrate Kpow with Bufstream
Learn how to integrate Bufstream—a Kafka-compatible streaming platform—with Kpow to enable streamlined, schema-aware development for Kafka-compatible streaming platforms.
.webp)
How-to
June 17, 2025
Integrate Kpow with the Redpanda Streaming Platform
A comprehensive, step-by-step guide to integrating Kpow with the Redpanda platform, covering the complete configuration needed to monitor the Kafka-compatible broker and manage schemas through its built-in schema registry.
.webp)
How-to
June 12, 2025
Integrate Confluent-compatible schema registries with Kpow
This guide demonstrates how to address the operational complexity of managing multiple Kafka schema registries. We integrate Confluent-compatible registries—Confluent Schema Registry, Apicurio Registry, and Karapace—and manage them all through a single pane of glass using Kpow.
.webp)
How-to
May 25, 2025
Set Up Kpow with Google Cloud Managed Service for Apache Kafka
A practical, step-by-step guide on setting up a Google Cloud Managed Service for Apache Kafka cluster and connecting it from Kpow using the OAUTHBEARER mechanism.
Article
May 16, 2025
Beyond Reagent: Migrating to React 19 with HSX and RFX
Introducing two new open sources Clojure UI libraries by Factor House. HSX and RFX are drop-replacements for Reagent and Re-Frame, allowing us to migrate to React 19 while maintaining a familiar developer experience with Hiccup and similar data-driven event model.
Events & Webinars
Stay plugged in with the Factor House team and our community.
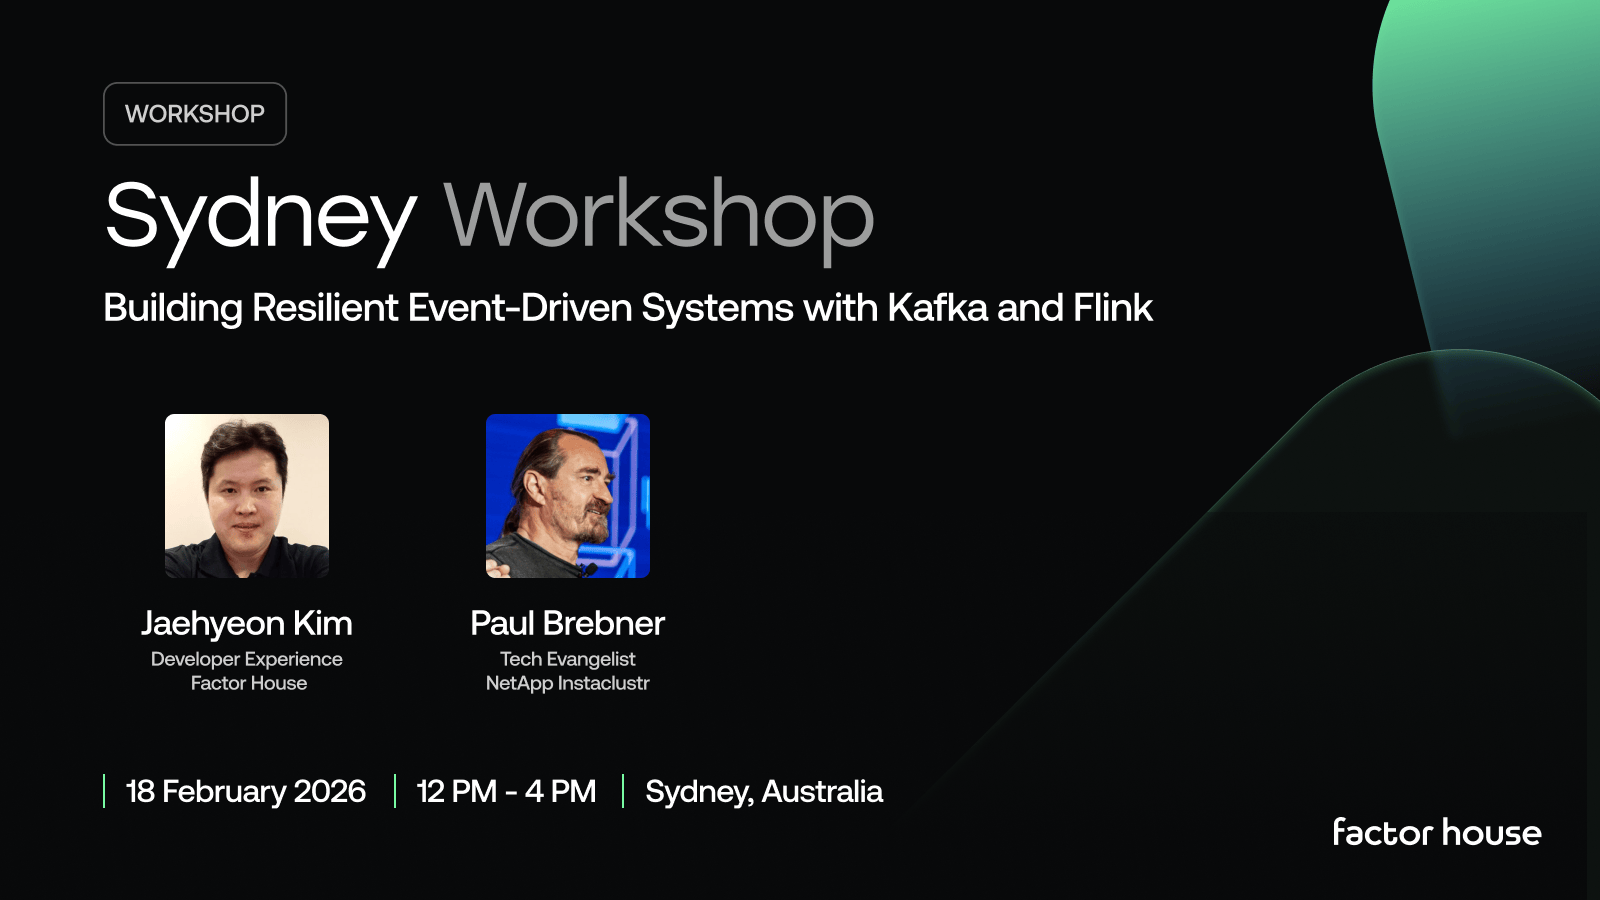
Event
18 February 2026
Sydney Workshop: Building Resilient Event-Driven Systems with Kafka and Flink
We're teaming up with NetApp Instaclustr and Ververica to run this intensive half-day workshop where you'll design, build, and operate a complete real-time operational system from the ground up.
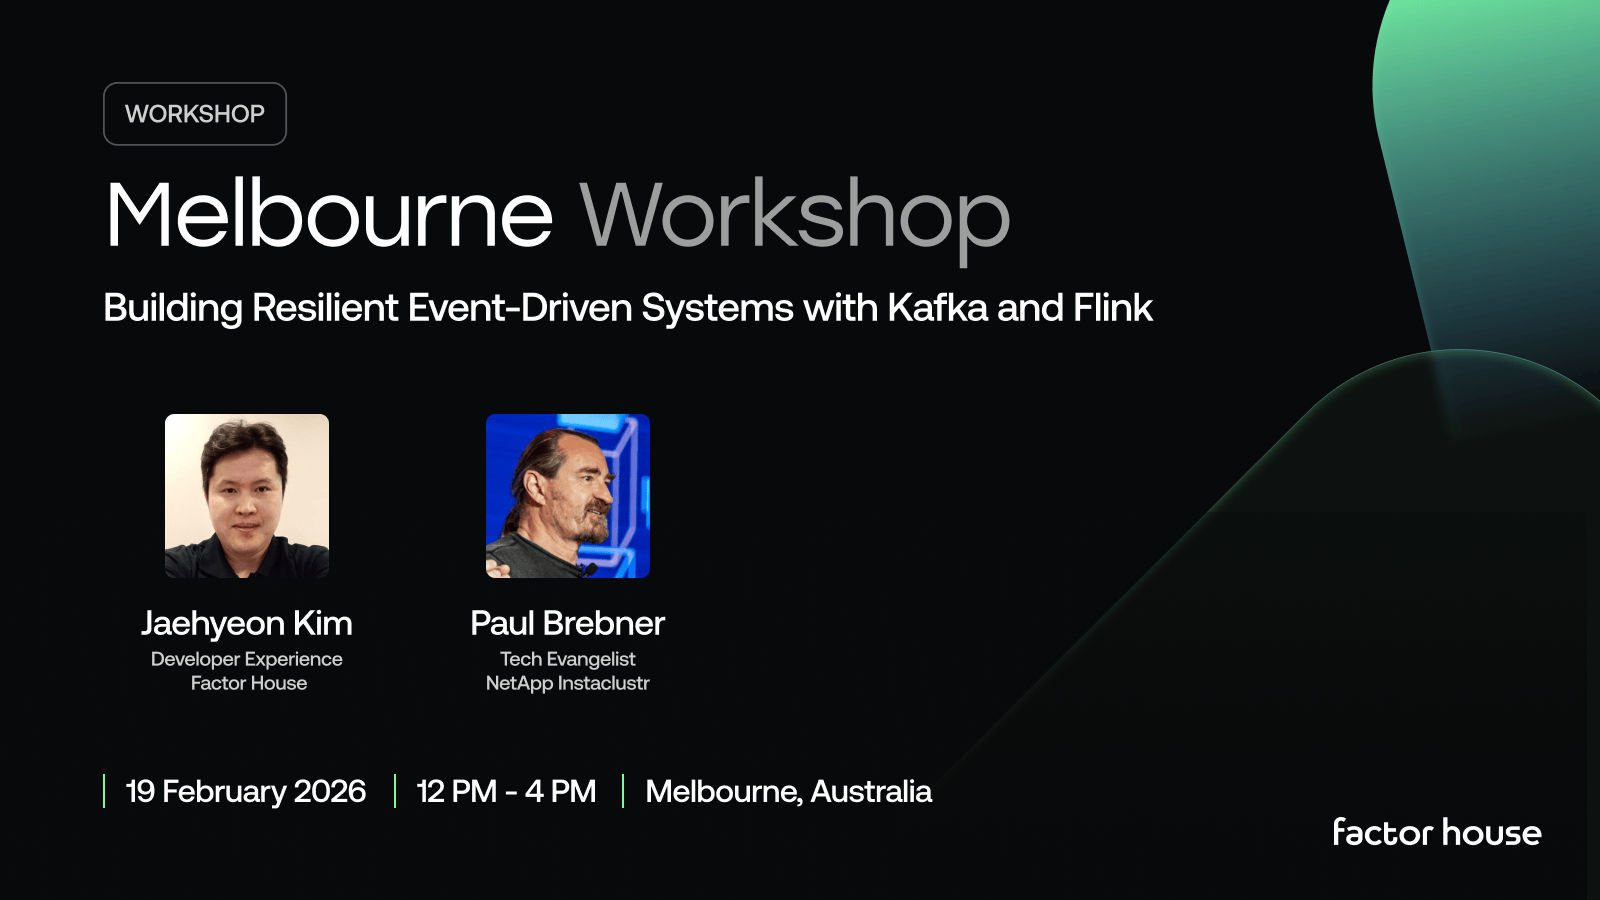
Event
19 February 2026
Melbourne Workshop: Building Resilient Event-Driven Systems with Kafka and Flink
We're teaming up with NetApp Instaclustr and Ververica to run this intensive half-day workshop where you'll design, build, and operate a complete real-time operational system from the ground up.
Join the Factor Community
We’re building more than products, we’re building a community. Whether you're getting started or pushing the limits of what's possible with Kafka and Flink, we invite you to connect, share, and learn with others.


